
Help/Receipts & expenses
Add a receipt
Updated July 27, 2026·1 min read
Recording expenses when they happen is the whole point. Aim for under a minute per receipt.
Steps
1. Start a new receipt
On web: Receipts → create / add. On mobile: Receipts tab → add.
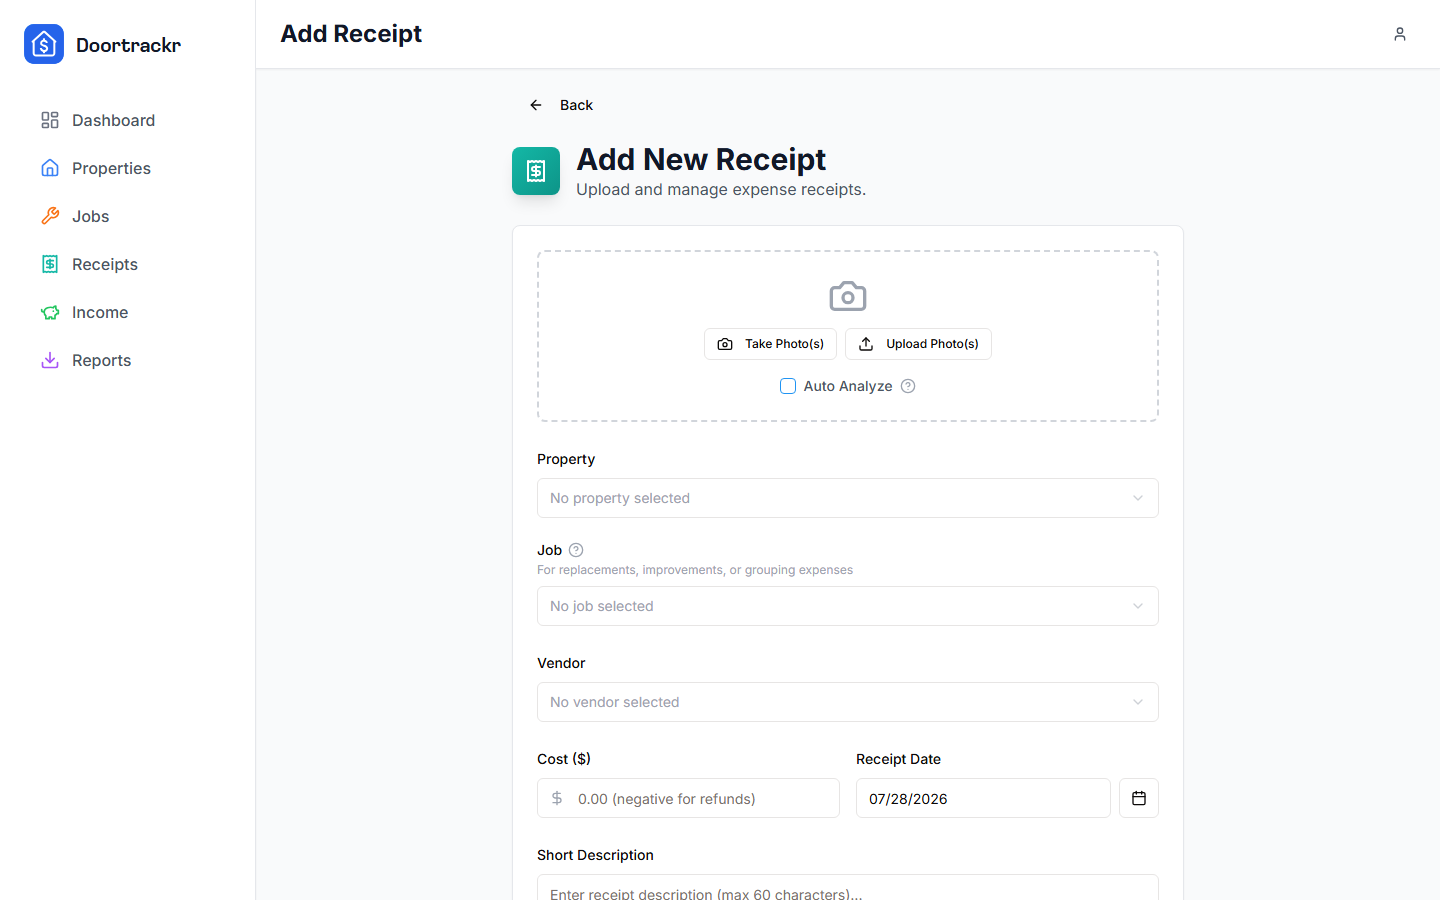
2. Add image or PDF
Attach a photo or PDF. On mobile, use the camera. Optionally enable Auto Analyze so Doortrackr can suggest date, vendor, and amount from the image. Always verify OCR suggestions.
3. Complete required fields
Set:
- Date and cost
- Schedule E category (required)
- Property (or leave unassigned for a general expense)
- Optional job, vendor, description
Save. The receipt appears in lists and reports.
Tips
- Multi-image receipts are supported where the UI allows.
- Wrong category? Edit the receipt — categories drive Schedule E tables.
On mobile
Capture is optimized for phone cameras. Sync to web for spreadsheet view or CSV import.
See also
Still stuck? Email support@doortrackr.com.